
This post is one part in a series about high-performance window installation:
Part 1: How to Prep the Rough Opening
Part 2: Positioning the Window in the Rough Opening
Part 3: Exterior Window Taping
Part 4: Interior Window Airsealing - YOU ARE HERE
Part 6: Window Installation Quality Control
After the window/door unit has been taped on the exterior for waterproofing. Before the interior side of the window is airsealed it’s best to insulate between the window unit and the rough opening framing. On the interior side fibrous insulation can be stuffed between the rough opening and the window frame. It’s best to use a fibrous vapor permeable insulation. Any can-foam or similar vapor retarding insulation can trap moisture at this high temperature difference location. Can-foam is not flexible and cannot move with the framing as the wood expands/contracts based on its moisture content which can cause the foam to crack or not hold to the substrate creating voids between the foam and wood framing. Havelock sheep’s wool, Rockwool, Hempitecture or even fiberglass insulation is a great option for stuffing around window frames – vapor permeable fibrous insulation. A shim is typically used to stuff the fibrous insulation so that the insulation is in full contact with its surroundings and completely fills the rough opening gaps.


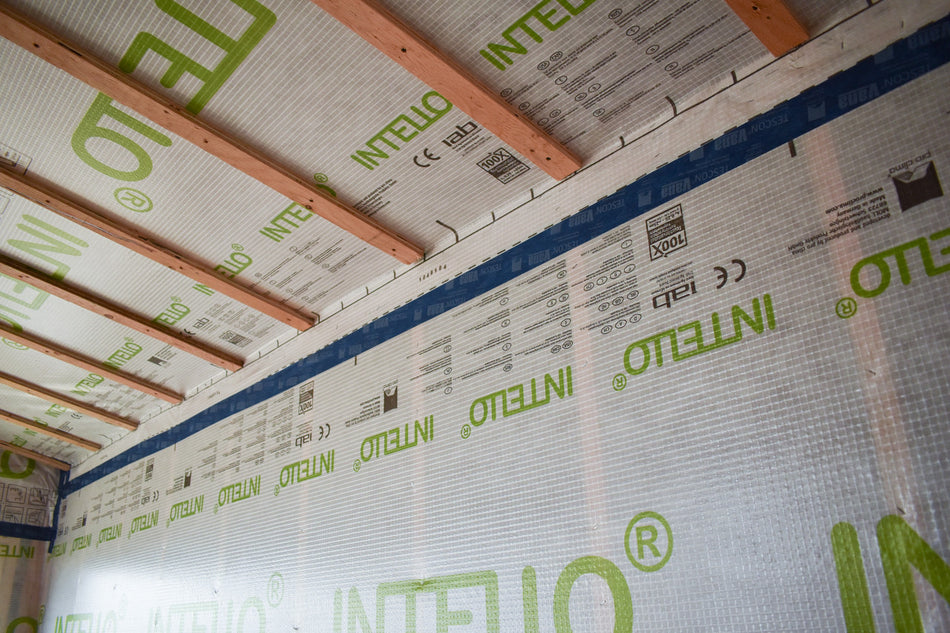
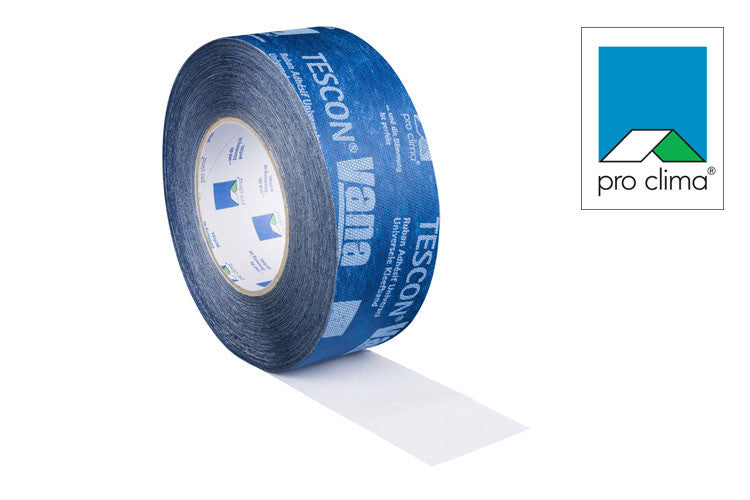
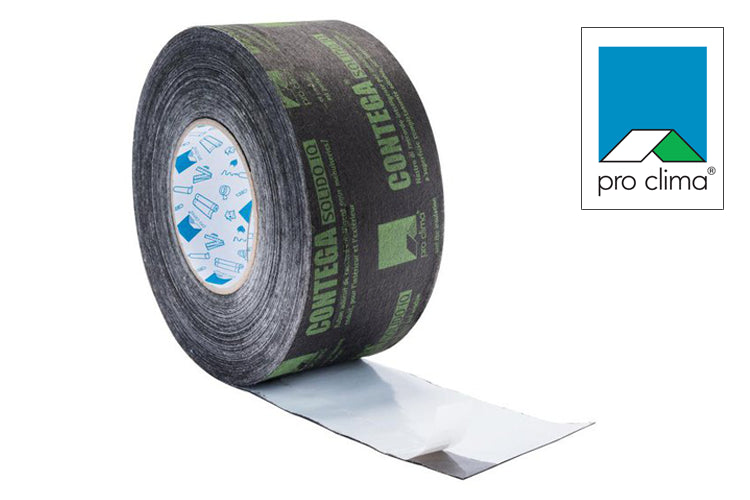
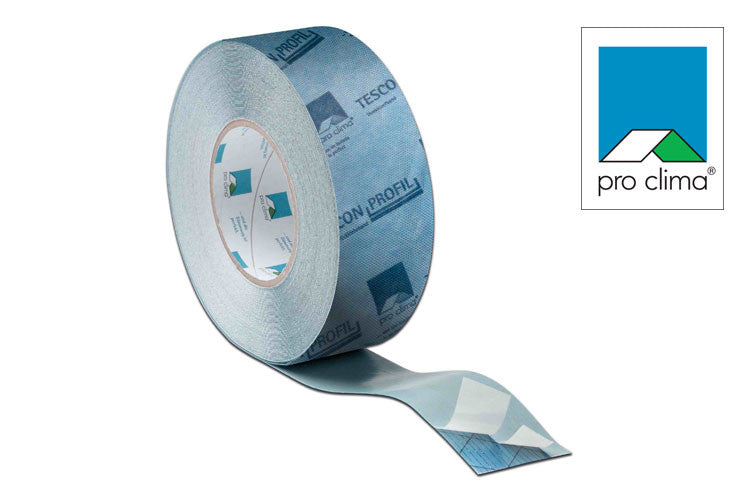
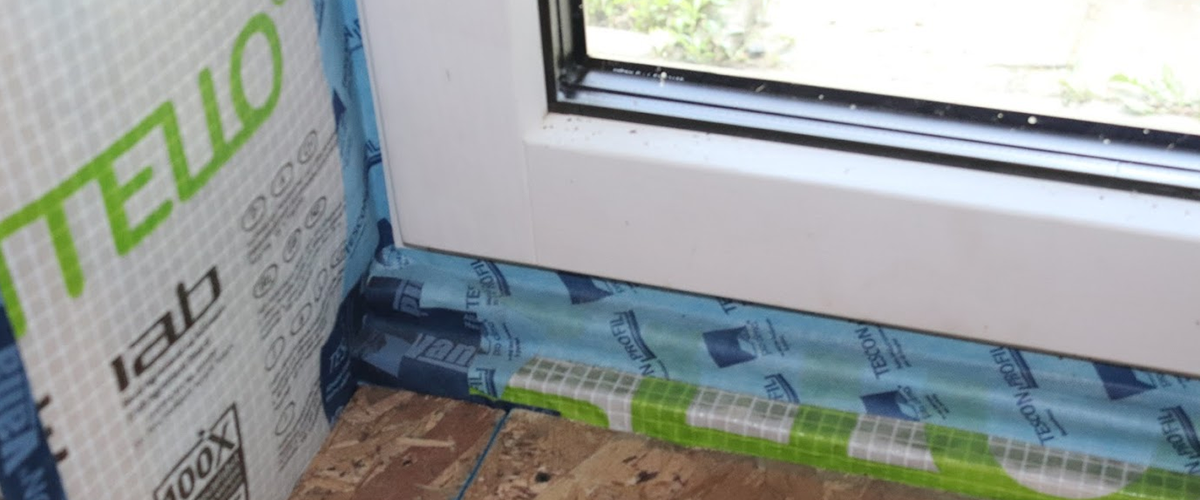
The exterior window tape is the waterproofing connection and the interior window tape is the primary air barrier connection. The assembly might have multiple air barriers – the exterior one doubling as the WRB and the interior doubling as the vapor control layer. The window/door unit is the air barrier in that location so the assembly’s air barrier is airsealed to the window/door unit with an airtight tape. For an airtight install there needs to be a tape connection on all 4 interior sides of the window frames – it’s best to use TESCON PROFIL, PROFECT, or CONTEGA SOLIDO IQ for this connection.


Many high performance window units have straps or clips fastening into the rough opening on the interior side of the frames, these straps and clips need to be taped over to ensure an airtight connection to the window’s frame.


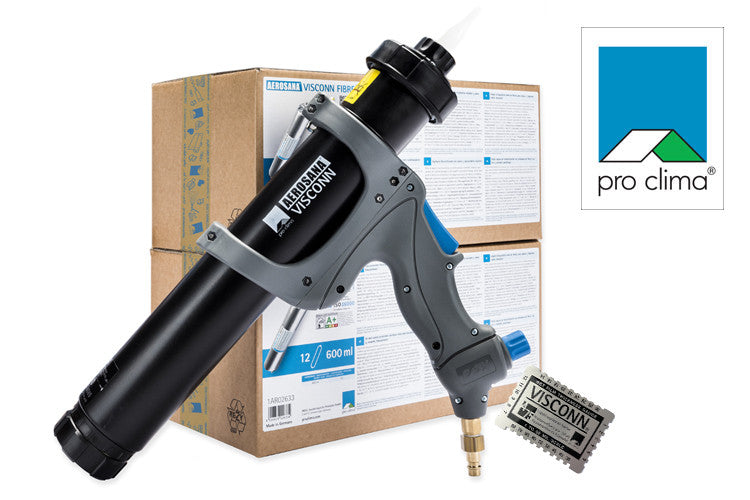
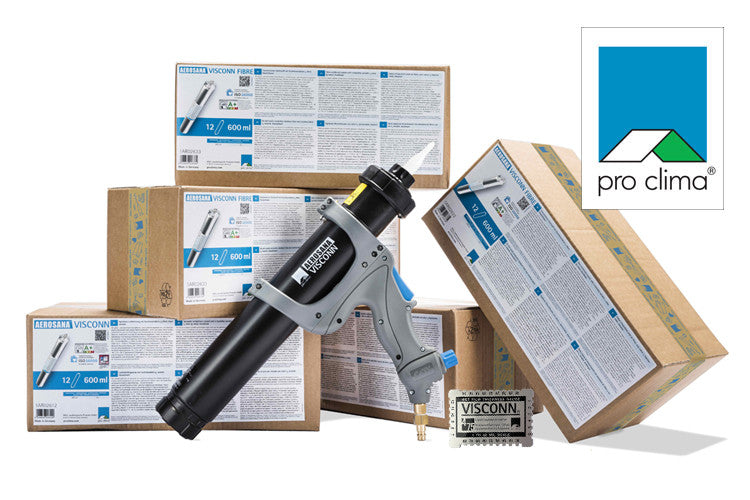
Corner details are a common airleak for window installs. Many projects have some redundancy at this detail and place a daub of VISCONN or Contega HF in the corner while then taping over it with a window tape corner detail. See this video for pre-making the window corner tape using a small cut and fold in the tape . It’s best to use TESCON PROFIL, PROFECT, or CONTEGA SOLIDO IQ for these corner tapes since there’s a split in the release strip backing.