This post is one part in a series about high-performance window installation:
Part 1: How to Prep the Rough Opening
Part 2: Positioning the Window in the Rough Opening
Part 3: Exterior Window Taping
Part 4: Interior Window Airsealing
Part 6: Window Installation Quality Control - YOU ARE HERE
High performance windows need a high performance install. Windows act as the waterproofing, airsealing, and insulation for the building where they’re installed. All of these layers need to be properly connected to the window unit. Here’s simple and effective methods for quality control during window installation.
Pre-Construction Mock-Ups
It’s best to do pre-construction mock-ups for window installs. There’s a variety of options for best practice install and it’s helpful to work through all of the sequencing and install on a mock-up. The most expensive thing for builders is undoing and redoing work.

Proper Tape Adhesion
Job site conditions can be rough and all of the materials that installers are adhering to need to be dust free and dry. Prepping the install location with a shop vac or air blow gun is often needed to allow proper adhesion.
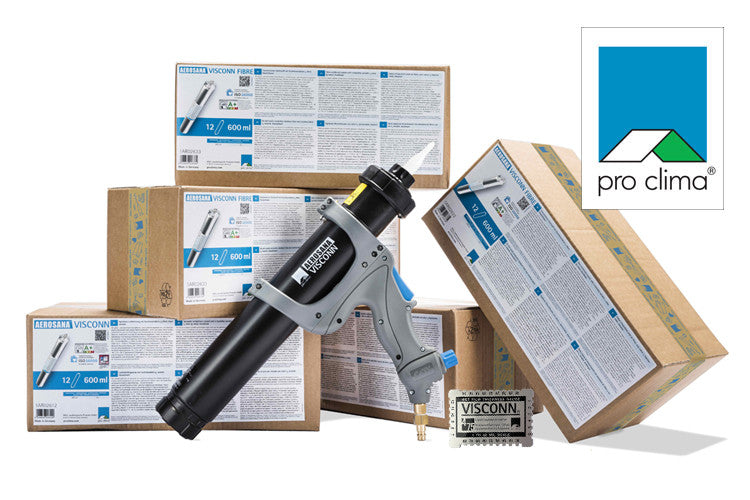
All Pro Clima tape options are Pressure Sensitive Adhesive (PSA) tapes that require pressure activation with a PRESSFIX to properly adhere. A PRESSFIX is a little blue square that you should always have in your pocket (or attached to you… as shown below) when you're working with Pro Clima tapes.


Pressure activation works to your advantage on multiple levels. First, it gives you time before pressurization to carefully and precisely place the tapes. If it's not exactly where you want it, you can pull off the tape and re-position it. Only when you pressurize is the adhesive activated - and grows stronger over time. Pro Clima tapes have been advanced age tested to hold for 100 years. That century begins when you pressurize it.
Pressurization also helps with the smallest details. Once your tape is in the right place, to finish the job you often need to pressurize the tape into the tight corners and small crevices that are found everywhere on windows. Our fingers aren't well-suited for this intricate work - but the PRESSFIX is.
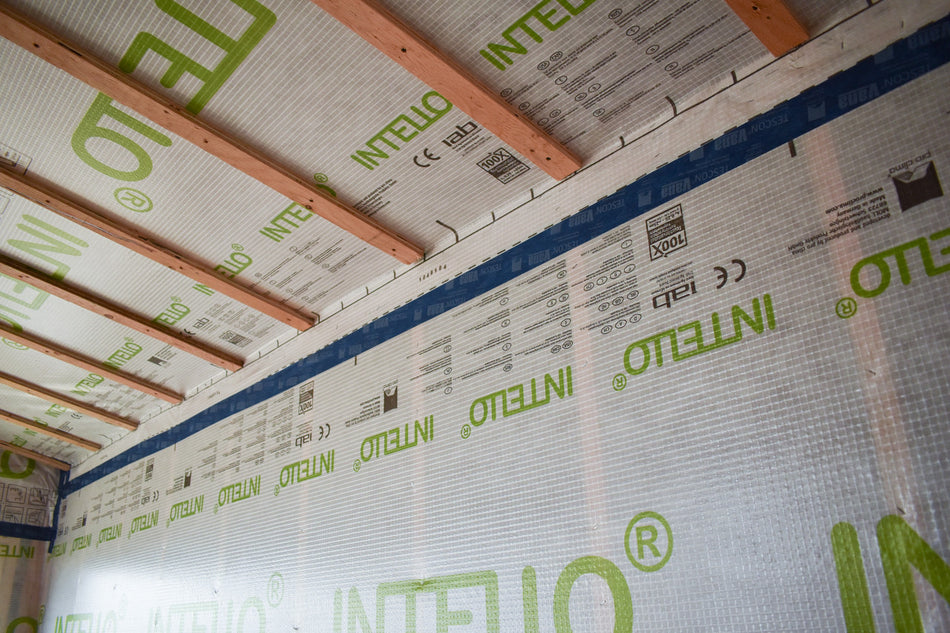
There should be no fish mouths at the seam of the membrane meeting the window tape or folds in the tape. Air and water leaks can occur at these locations. Typically the faulty install can be taped over or cut out and then retaped.

Waterproofing
If water leaks occur after the window unit is installed it’s best to precisely wet the exterior of the units with a hose starting at the sill and working upwards with long pauses between wetting. The goal is to localize and test each juncture and waterproofing connection. Then the leak point can be taped over or hardware adjustment to prevent future water intrusion.
Blower Door Testing
Blower door testing is another quality control measure. Projects can bag/cover rough openings prior to window install so a preliminary blower door test is just testing the primary air barrier. And then another blower door test can be done after the units are installed to test the install of the windows and its hardware connections. The blower door test is a tool to improve the quality of the install – it’s not just for verifying airtightness after the project is completed.

For air leaks it’s best to locate the leak by using smoke or feeling air flow with your hand during a blower door test (for more info on blower door testing protocol check out this blog post - LINK). If there’s enough of a temperature differential between interior and exterior, projects can blower door test while using an infrared camera to visually see air leaks in the infrared camera. Then the leak point can be taped over or hardware adjusted to seal the air leak.


All Pro Clima tapes should be concealed with an interior or exterior finish material to protect the tape from UV and damage over the lifetime of the building. It's best to do these water leak tests and air leak tests while there’s still access to the waterproofing and airsealing tapes. If the project only tests after the drywall finishes and exterior siding is installed then it can be costly and more difficult to find and seal the concerns.
Job Site Communication
Create an air barrier penetration log. Whenever the air barrier is being penetrated the penetration should be logged and then checked that it was properly sealed. See the “How to Seal Air Barrier Penetrations” blog post for airsealing options.
Signage of penetrations or sequencing should be placed throughout the jobsite so that concern areas are highlighted and properly tracked. See Bauen Build walk through one of their jobsites and discuss jobsite communication in this video:
475 offers an “Airtight Building” sign that should be prominently displayed on site to alert trades not to penetrate the airtight layer. See this blog post to download a pdf of the sign.